

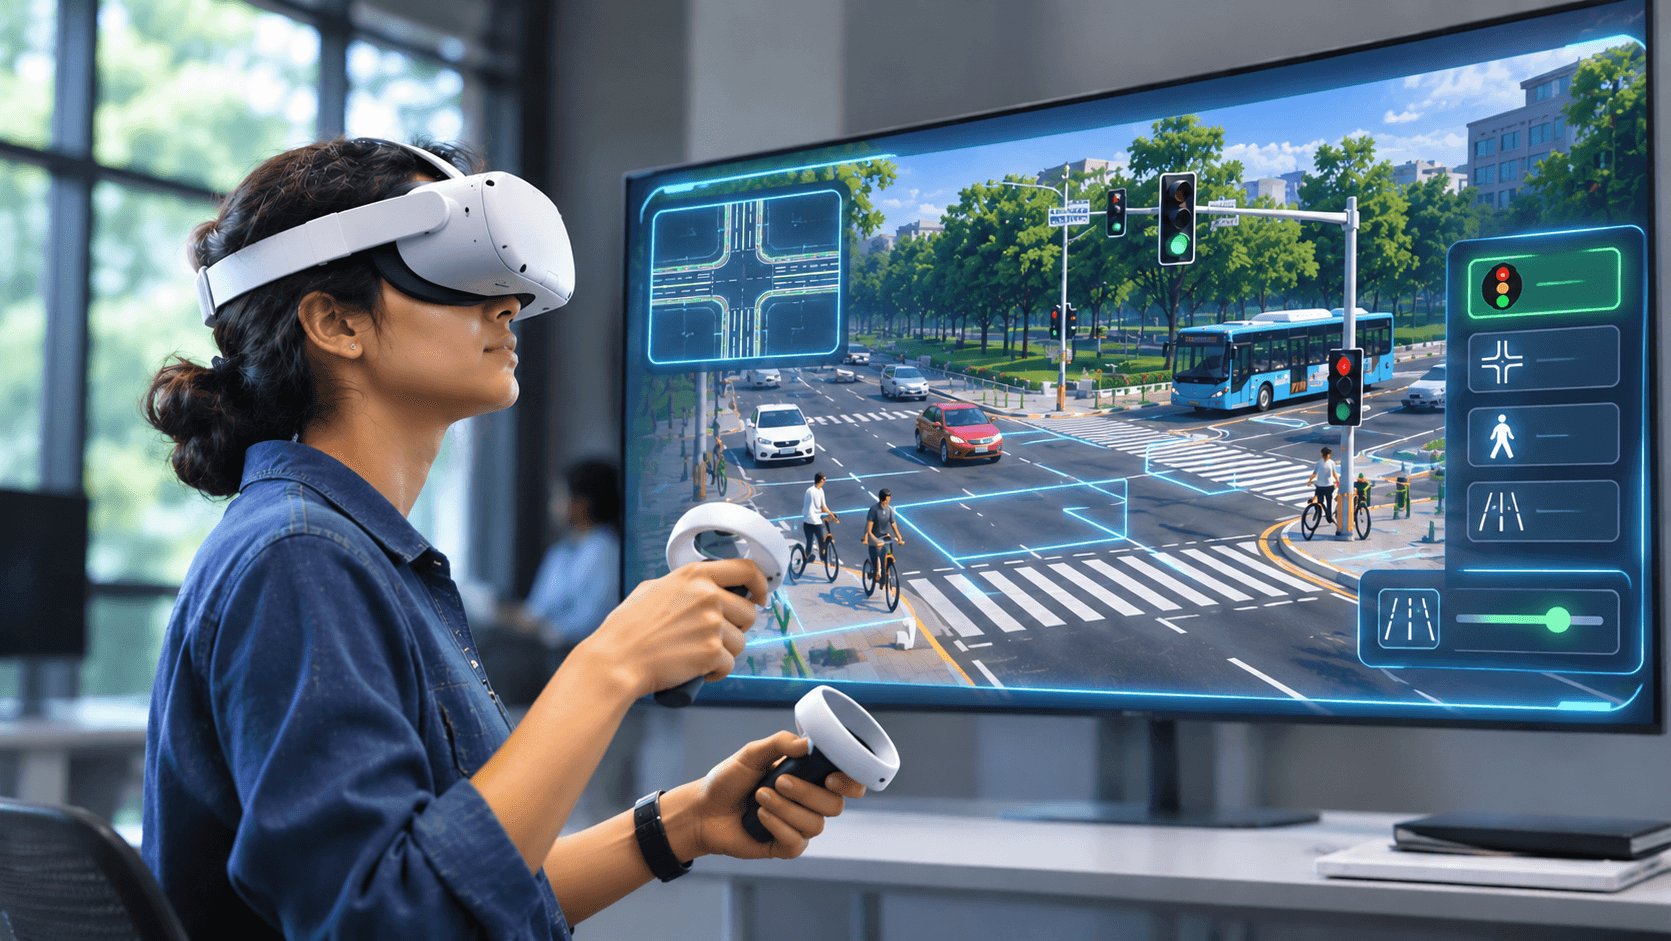
If you have ever taught transportation engineering, you know this moment very well.
You have spent a whole week on signal phasing, cycle length, lost time, and Webster’s method. Students are nodding. A few even solve the numerical correctly. Then you ask a simple question, “Okay, so why are the right-turners blocking the through traffic here?”
And the whole class goes silent.
That silence is not because students are not trying. It is because we are trying to teach a live, moving system with dead, static tools. And most of us who teach have felt this problem.
The real problem: a live subject taught with static tools
Transportation is not one single topic. It is signals, geometric design, pedestrian safety, buses, highway capacity, urban mobility - all tangled together. You change one thing here, and it shows up somewhere else.
You add a left-turn lane and suddenly the pedestrian crossing becomes longer. You give more green time to the main road and the side road has to wait for two minutes.
But what do we teach with? Chalk, slides, a junction drawing from a textbook. We are asking students to imagine a dynamic system with cars, buses, bikes and people, all moving together, from a flat sheet of paper.
Yes, they can calculate queue length. But very few can actually tell you what that queue feels like to a driver stuck in it, or to a pedestrian trying to cross.
And then there are the practical headaches we all deal with.
You need permission for a site visit. You need to arrange transport for 60 students and make sure no one is standing too close to a busy road. You get maybe 20 minutes at a noisy junction where half the class cannot even hear you. You cannot ask the traffic police to change the signal timing just so your students can see what happens.
And with syllabus pressure, there is no time to go back. But repetition is exactly what students need to really understand a concept.
So we are trying to teach analysis and design using tools that only support memory and basic formulas. That gap is where students lose interest.
What a VR class actually looks like
It is much simpler than faculty expect. I thought it would be complicated too, at first.
A virtual junction is literally just a link. You can run it on a Meta Quest, Pico, or ClassVR headset if you have it. Or you can just open it in Chrome on a regular lab computer. Both work fine.
Let’s say you are teaching signalised intersections. You teach the theory exactly how you always do. Phases, cycles, lost time. Then you tell students, “Go inside the junction now.”
They enter the scene. Vehicles are coming from all four sides. They can actually see the queue building. They notice how right-turning vehicles are choking the straight movement. If the module is interactive, they can change the green time or add a lane and see the result right there.
For you as a teacher, nothing major changes. You still do theory first, then observation, then you give a task, then you discuss. It fits into your existing practical slot. You don’t have to redesign your whole course.
Where does it fit in the curriculum?
Almost everywhere, to be honest.
Signal design: Cycle time stops being just a number in a formula. Students see it fail.
Intersection geometry: Why a turning radius is too tight or why lane markings confuse drivers - it makes sense when you stand inside it.
Pedestrian safety: A crossing that is not visible? You will spot it in 30 seconds in VR.
Highway capacity: A graph can show congestion, but seeing traffic pile up when volume hits capacity is different.
Public transport: A bus stop placed badly can jam the whole road. You see it instantly.
Diversion scenarios: Close this road, where will all the traffic go? You can test it.
Intelligent transport systems: What do adaptive signals and sensors actually do, and where do they fail?
My suggestion - don’t try to cover everything. Pick the one topic your students always struggle with and start with just that. Signals and intersections are usually the best starting point.
Make it assessable, not just a cool demo
This is where many colleges make a mistake. They run a VR demo, students say “wow”, and then they forget it the next day.
You have to tie it to a learning outcome. Give it a proper task.
For example: “Explore this four-way junction and find three conditions that could cause a crash. Propose one low-cost fix.” Or, “Compare Layout A and Layout B, which one will you approve for construction and why?”
You can mark that. You can ask it in a viva. You can make a short 5-mark quiz out of it. One scenario can be used for three different batches, so you are not dependent on whether the site visit got approved this time.
It also goes really well with CAD, GIS and surveying. Design it in CAD, then go check how it feels in VR.
The same class, but from a student’s chair
Now think about it from the student’s side.
They see a drawing and have to imagine everything that is NOT in the drawing - traffic, people, timing, risk. In VR, they don’t have to imagine. They are standing inside it. They check the driver’s view, then walk to the footpath and check the pedestrian’s view. That is when things actually click.
Three things change for them.
First, they see the whole system at once. The bus, the car, the cycle, the pedestrian - all fighting for the same 20 meters of road.
Second, they can make mistakes safely. They can make a wrong design choice, watch it jam, and then fix it. No one gets hurt. In real life, a bad design can actually hurt someone, so having a safe space to be wrong is huge.
Third, they can learn at their own pace. A slower learner can go back to the same scene and just watch how cyclists move, or just focus on the footpath. No one is judging.
And the best discussion happens after the VR part. When you ask, “So why did this jam happen? What will you change? What data do you need before you decide?” That is where real engineering thinking begins.
And no, VR does not replace calculations, IRC codes or site surveys. It just makes students ready and confident to use those things properly when they go to a real project.
How to start small without overthinking
Don’t try to build a full VR lab in one month. That never works.
Try this instead:
Find one pain point. Usually it is signals or intersection design.
Find one module that matches your syllabus. Not the one that looks the most impressive.
Get one or two faculty members comfortable. They don’t need to be VR experts, just comfortable enough to run the session and link it back to theory.
Use it inside your existing lab hours. Treat it like a normal practical, not a separate event.
Take 5 minutes of feedback. A small quiz or a one-page response sheet will tell you if it actually helped.
What to check before you buy
A few practical things.
First, check hardware. Some modules need headsets, many run on browsers now. For example, iXR Labs has built its modules on WebXR, so they work on Meta Quest, Pico, ClassVR and even a normal Chrome browser. That flexibility helps.
Second, faculty buy-in is more important than hardware. If the teacher doesn’t connect the VR to the theory, it just remains a game.
Third, keep a browser option. Some students feel dizzy with headsets.
And finally, buy it to solve a teaching problem, not because it looks cool in a brochure.
iXR Labs has a civil engineering library - transportation, structures, surveying, geotech, construction materials - including their Highway Cross-Section Design module. It runs on both headsets and browsers, so you can try without setting up a full lab from day one. Just check if it matches your course plan and lab hours.
At the end of the day, VR will never replace a real site visit. But it can take a student from “I know how it’s supposed to work” to “I understand why it works like that.”
And honestly, that shift is the whole point of teaching this subject.